Overview
Background
In CHRS, the holiday schedule table is populated by campuses. Each campus will have their own holiday schedule converted over from the 9.0 system and be responsible for maintaining.
There will be a standard "NONE" schedule that contains no holidays that can be assigned to student employees or other groups that are not eligible for holidays.
Each campus holiday schedule must follow the standard naming convention:
- The naming convention is the campus 3-character identifier followed by "HOL" (Example: FULHOL).
- For Academic Year specific Holiday Schedules the naming convention is the campus 3-character identifier followed by "AHS" (Example: FULAHS). If campus has something else in HR 9.0, they should discuss with the AM Superusers.
Create a Holiday Calendar
Step 1: Open the Navbar button

Step 2: Navigate to Menu >Set Up HCM > Foundation Tables > Organization >Holiday Schedule
Step 3: Click Add a New Value.
Step 4: Enter Holiday Schedule Name
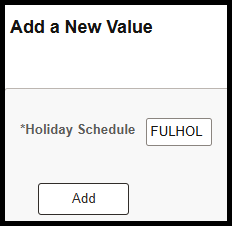
Step 5: Click Add.
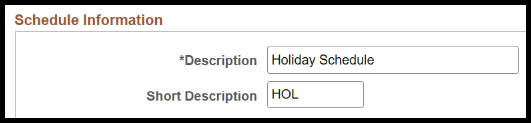
Step 6: Complete the Description and Short Description fields.
Step 7: Complete the Holiday Details fields.
- Holiday Date
- Description
- Holiday Type
- Start Time (12:00AM)
- End Time (11:59PM)
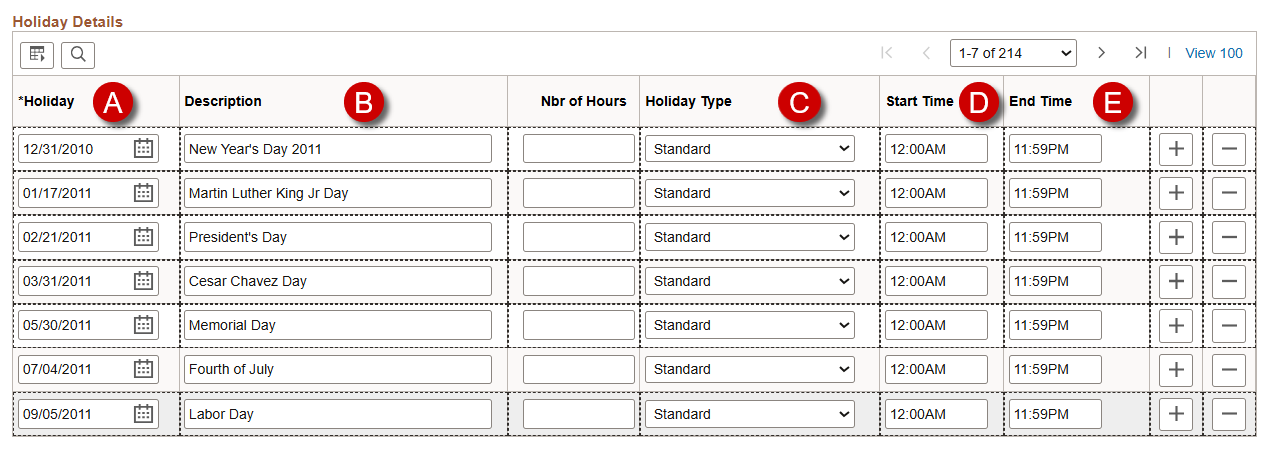
Step 8: Click the Plus button to add more holidays if needed.

Step 9: Click Save.

End of Article