Overview
This job aid shows HR Administrators how to set up approval workflows for Temporary Academic Employment.
Overview of Approval Workflow setup process
Configure workflow steps
Step 1: Navigate to CSU TAE WorkFlow Steps.
- Menu > CSU Temp Academic Employment > CSU TAE Approval Workflow > CSU TAE WorkFlow Steps

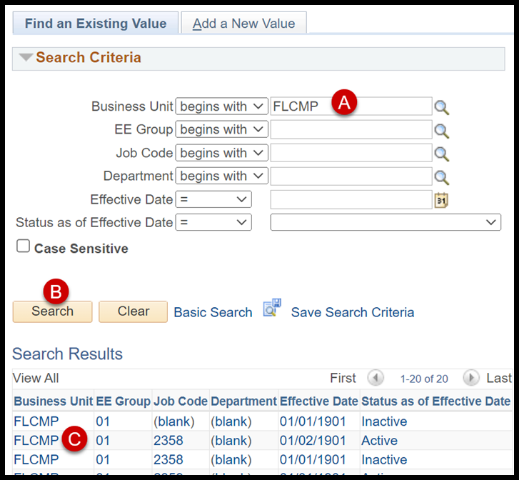
Step 2: Search existing workflows to ensure your new workflow does not include the same information as an existing one.
- Enter your search criteria.
- Click Search.
- Review the list of existing workflows
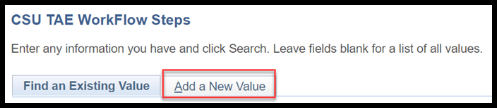
Step 3: To create a new workflow, click the Add a New Value tab.
Step 4: Enter the following information:
- Required:
- Business Unit (campus)
- EE Group
- Effective Date
- Optional
- Job Code
- Department
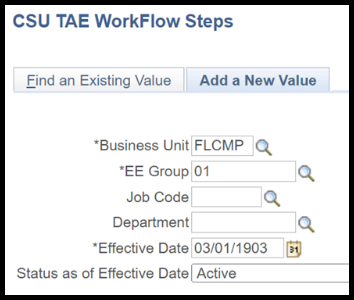
Step 5: Click Add to open the CSU TAE Workflow Steps page.

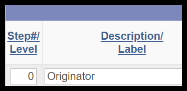
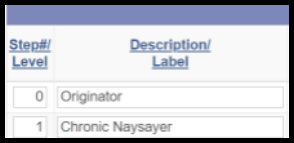
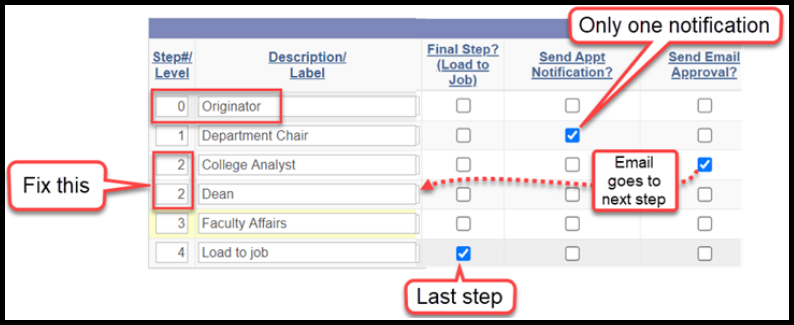
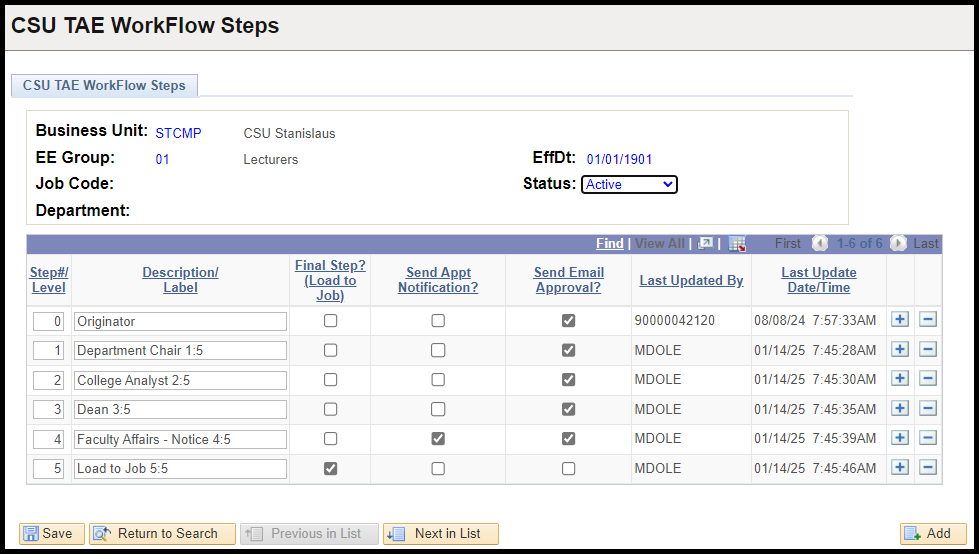
Step 6: Enter a description for the step 0 in the Description/Label field. Step 0 must be labeled “Originator.”
- Level 0 is the first step, and it is always the originator of the workflow. If the workflow gets pushed back to the start, it goes back to the originator.
- The Description/Labels are the names of the steps, not people.
Step 7: Click the Plus button to add another step.
- You can add up to ten steps.
- You can click the Plus button after any step to insert a new step after it.

Step 8: Enter the Description/Label.
Step 9: For one step, check Send Appt Notification. One step in the workflow must have this checked.
- Send Appt Notification sends notification of the terms of the appointment to the appointee. Check this box only once per workflow.
Step 10: Optional: Check Send Email Approval.
- If you check this option, the system sends an email to the next approver in the workflow. In this example, the Department Chair gets an email notification.
- Be mindful of the recipient’s email volume before you check this box.
- The Level 1 approver does not receiving an email notification.
- If the Send Email Approval box is checked at the Load to Job step, the final approver will receive two notifications.
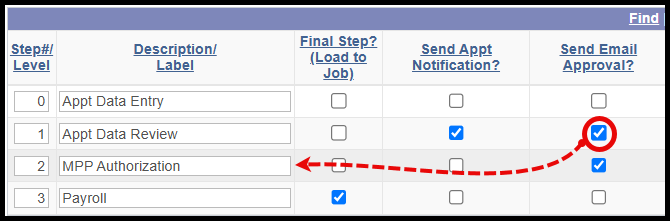
- Step 11: On the last step, select the Final Step checkbox.
- After this step, the data is loaded into the Job Data tables.
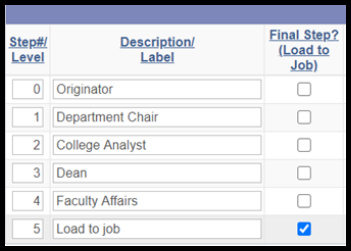
Step 12: Double check the workflow to ensure it is valid.
- First step is zero and goes to the Originator.
- Steps are consecutive.
- Each step level is used only once.
- The last step has the Final Step option checked.
- One step (and only one) sends notification to the appointee.
- Send Email Approval is checked for the step before the email recipient.
Step 13: Click Save.

The workflow is saved. There is no notification.
What to do next: Set up Approvers
Set up Approvers
Step 1: Navigate to CSU TAE WorkFlow Approvers.
- Menu > CSU Temp Academic Employment > CSU TAE Approval Workflow > CSU TAE WorkFlow Approvers

Step 2: Enter the criteria that define your workflow steps.
- Approvers are associated with the steps on a specific workflow.
- Business Unit and EE Group are required fields.
- Job Code and Dept ID are for specialized workflows.

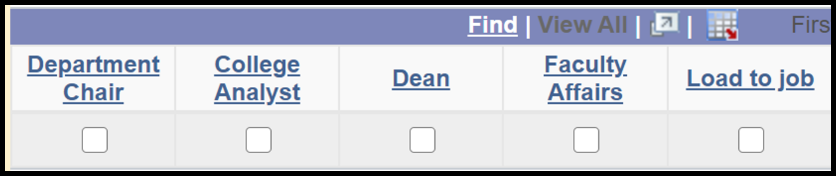
Step 3: Confirm that page displays the correct workflow steps.
- Scroll to the right to see all the steps.
- Confirm that these are the same steps that you defined in Configure workflow steps.
Step 4: Enter the Empl ID for the first reviewer.
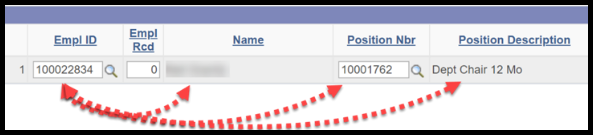
The following fields populate:
- Name
- Position Nbr
- Position Description
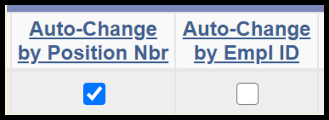
Step 5: Check either Auto-Change by Position Nbr OR Auto-Change by Empl ID.
- Auto-Change by Position Nbr: If the person leaves the position, the approval workflow will go to the next person who occupies that position. Your campus must use position management in order to automate auto-change.
- Auto-Change by Empl ID: If the person leaves the position, the approval workflow will continue to go to the person.
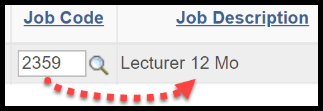
Step 6: Optional: Specify the Job Code.
- Use this field to provide special access to a job code-specific workflow. This approver will have access only to workflows for this job type.
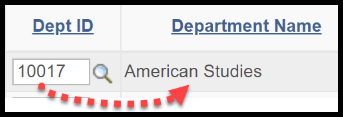
Step 7: Optional: Specify the Department ID.
- Use this field to provide special access to a department-specific workflow. This approver will have access only to workflows for this department.
- Use this field only if a workflow exists that matches this department ID.
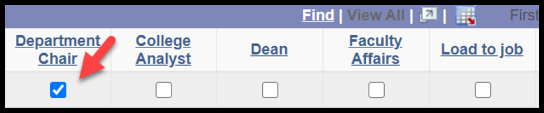
Step 8: Select the step to associate with this approver.
Step 9: Select either Read or Write for this approver.
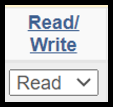
- Write: the reviewer can update fields.
- Read: the reviewer cannot update the fields.
Step 10 : Click the Plus button to add another approver row.

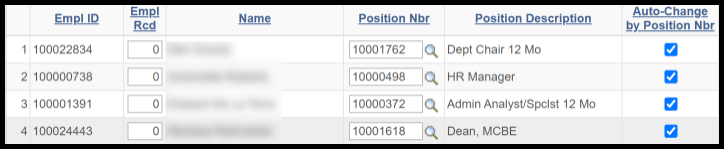
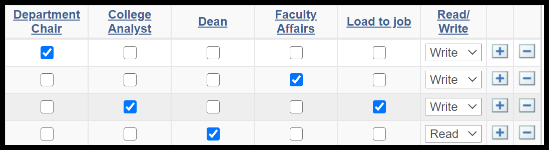
Step 11: Review your work.
- Check each name and position.
- Check Auto-Change options.
- Check which step each approver belongs to.
- Check Read/Write access.
Step 12: Click Save.
- The workflow is saved. TAE appointments for this campus, EE group, and optionally department or jobcode will be approved by this workflow.

End of Article