Overview
Background
Normally, you can change your benefits only when you are hired or during Open Enrollment. However, changes that occur in your life can affect your benefits. When a life-altering change happens, you have the option to create a Life Event in CHRS to update your benefits. For example, if you have a child, you can use a Life Event to add your new child to your benefits.
This article provides high-level instructions for completing a Life Event. While you are working through the Life Event, you should be following the on-screen instructions.
This article can act as a checklist - you can check off the items to complete the Life Event.
If you need more specific instructions, this document also links to task-specific job aids.
Before you begin: Important rules
These guidelines will help you avoid mistakes that could cost time and delay your benefits changes.
This table shows different Life Event types that you can choose. Make sure you choose the correct Life Event type before you proceed. If you are still not sure which Life Event to choose, contact your campus Benefits office. Each Life Event title links to a short video tutorial that you can watch by clicking the link.
- Did you get married or enter a registered domestic partnership?
- Did you have or adopt a child?
- Did you or a dependent gain or lose other insurance?
- Are you removing dependents only?
Life event (click link for video) Use this to… Must already be enrolled? Deadline Example/Notes Marriage/Registered Domestic Partnership Add your new family members to your benefits due to marriage or a registered domestic partnership. Yes 60 days You can add your new spouse or domestic partner and their children at the same time. If your new spouse or domestic partner has a recognized child, you can add the recognized child at the same time. Birth of a Child Add your new baby to your benefits. Yes 60 days Your baby is under 60 days old. Adoption of a Child
Add your newly adopted child to your benefits. Yes 60 days You adopted the child less than 60 days ago. Divorce/Termination of Registered Domestic Partnership
Remove your ex-spouse/ex-domestic partner from your benefits. Yes 60 days You can also remove children from your benefits in addition to your ex-spouse/ex-domestic partner. Parent-Child Relationship
Add a recognized child to your benefits. Yes 60 days You intentionally assume parental status or duties over a child who is not your adopted, step, or recognized natural child, and meet specific enrollment criteria. As specified in Section 599.500(o), you are required to substantiate a financial responsibility upon initial enrollment and annually thereafter, up to the child reaching age 26. Late Enrollment You missed the enrollment period and now want to enroll in benefits. No 30 days You can enroll yourself and your dependents in medical/dental/vision. You can add a recognized child at the same time. Please note that late enrollment has a 90-day waiting period following submission. Employee-Loss of External Coverage Enroll yourself and your dependents after losing other insurance. No 60 days Your spouse or domestic partner lost her job and now you need medical insurance. You can add other dependents, including a recognized child, at the same time. Employee-Gain of External Coverage Drop CSU coverage because you have coverage elsewhere. Yes 60 days Your spouse or domestic partner got a new job and it has better coverage. Dependent-Loss of External Coverage Add dependents who were previously covered elsewhere. Yes 60 days You are covered under CSU Benefits, but your spouse or domestic partner, who had external coverage, lost his job, and now needs to be on your medical plan. You can add other dependents, including a recognized child, at the same time. Dependent-Gain of External Coverage Drop dependents who have better coverage elsewhere. Yes 60 days Your spouse got a job that has medical coverage. Your child married and now has coverage elsewhere. Your child has turned 26 and is no longer eligible to be your dependent. Drop All Dependents Drop all dependents from your coverage. Yes 1 Day You no longer want to cover your dependents. Your one dependent has turned 26 and is no longer eligible to be your dependent. Do not use for divorce or termination of domestic partnership. Step 1: Click the CSULife Events tile.
The Life Events page opens.
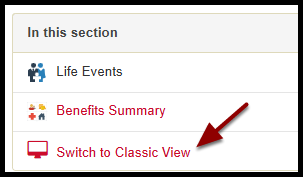
Step 2: Click Switch to Classic View.
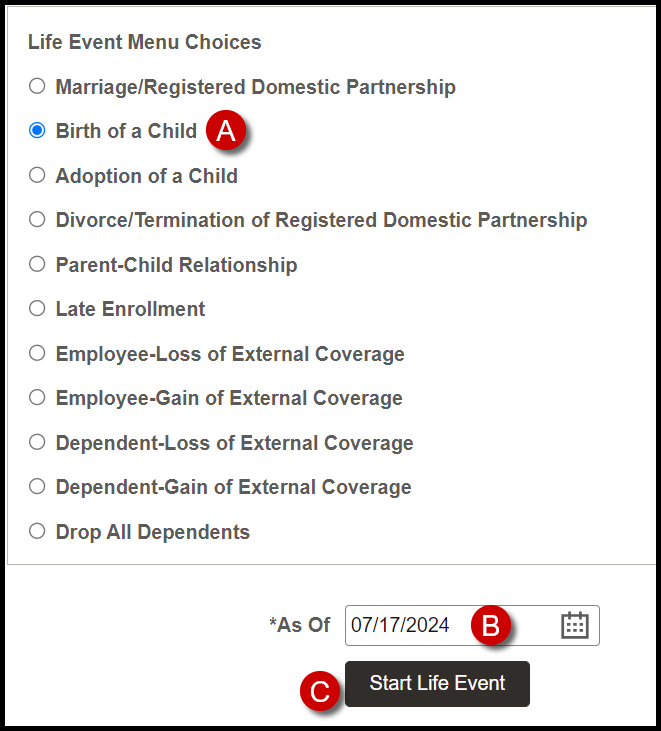
Step 3: Start the Life Event:
- Select the event type.
- Select the As Of Date for Life Event
- Click Start Life Event.
- Example below is for Birth of a Child
- Read the Welcome page carefully.
- Note any supporting documents that you need to submit to the Benefits Office.
If you are adding a new baby or adopted child, you must enter the birth or adoption date. Otherwise, you can skip this step.
Benefits Summary shows your current benefits. You can:
- Click on a tile to see your benefit choices and current dependents on that benefit.
- You can change the date to view your enrollments on another date. For example, you can view upcoming changes that are not reflected in your current Benefits Summary.

Select your benefits options, add or drop dependents, make changes.
Flex Cash options replace Medical and Dental plans. For example, you cannot be enrolled in both a Medical Flex Cash and a Medical Plan. If you plan to change from one to the other, you must first waive or cancel the existing option before you can enroll.
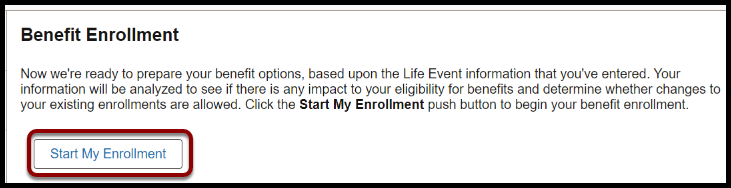
To begin your enrollment, click Start My Enrollment. Here is where you make changes to your benefits or dependents.
Step-by-step instructions
If you need step-by-step instructions for these procedures, you can click the link for the appropriate job aid. Be sure to come back here to check off the remaining tasks to complete your Life Event.
On the Benefit Enrollment page, click Submit Enrollment.

Select the check box to agree to the statements.

Click Save. Do not forget this step.

Use this procedure to Complete and close your Life Event.
Complete the tasks on the Summary page:
- Note the supporting documents that you need to send to the Benefits office.
- Review the steps that you completed.
- Click Complete to complete your Life Event and close the Life Event guide.
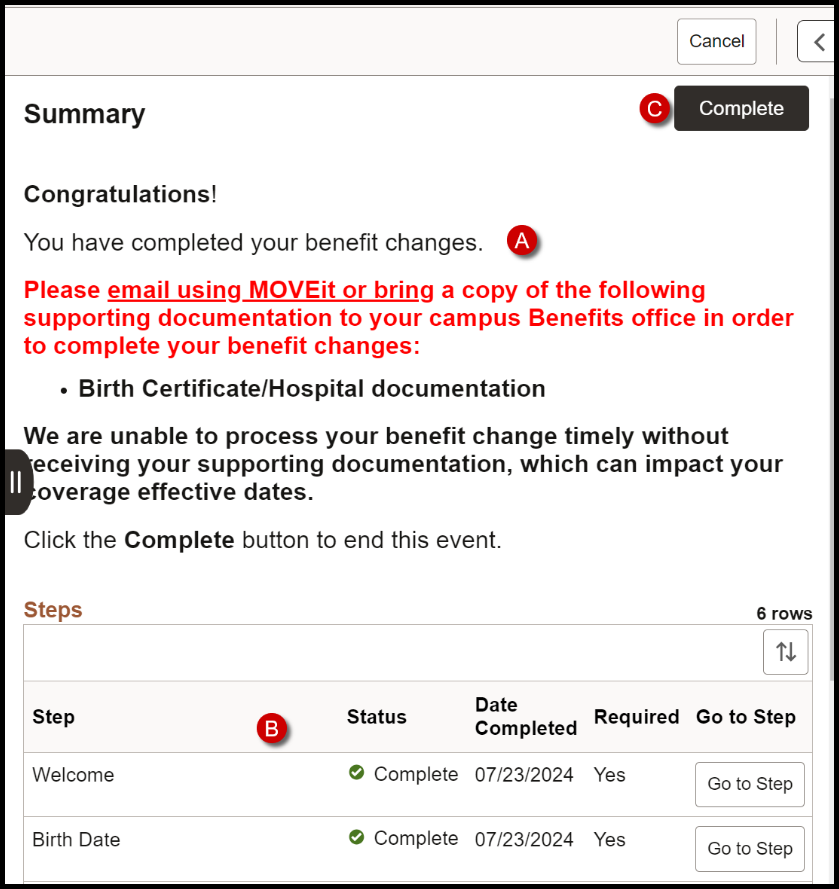
Submit your documentation. Your new benefits will not be processed until all applicable supporting documents are received. Use MOVEit to submit documentation securely electronically, or go to your campus Benefits office in person to turn in paper documents.
What to do next: Print Benefits Confirmation Statements
End of Article
You are done. Great job!